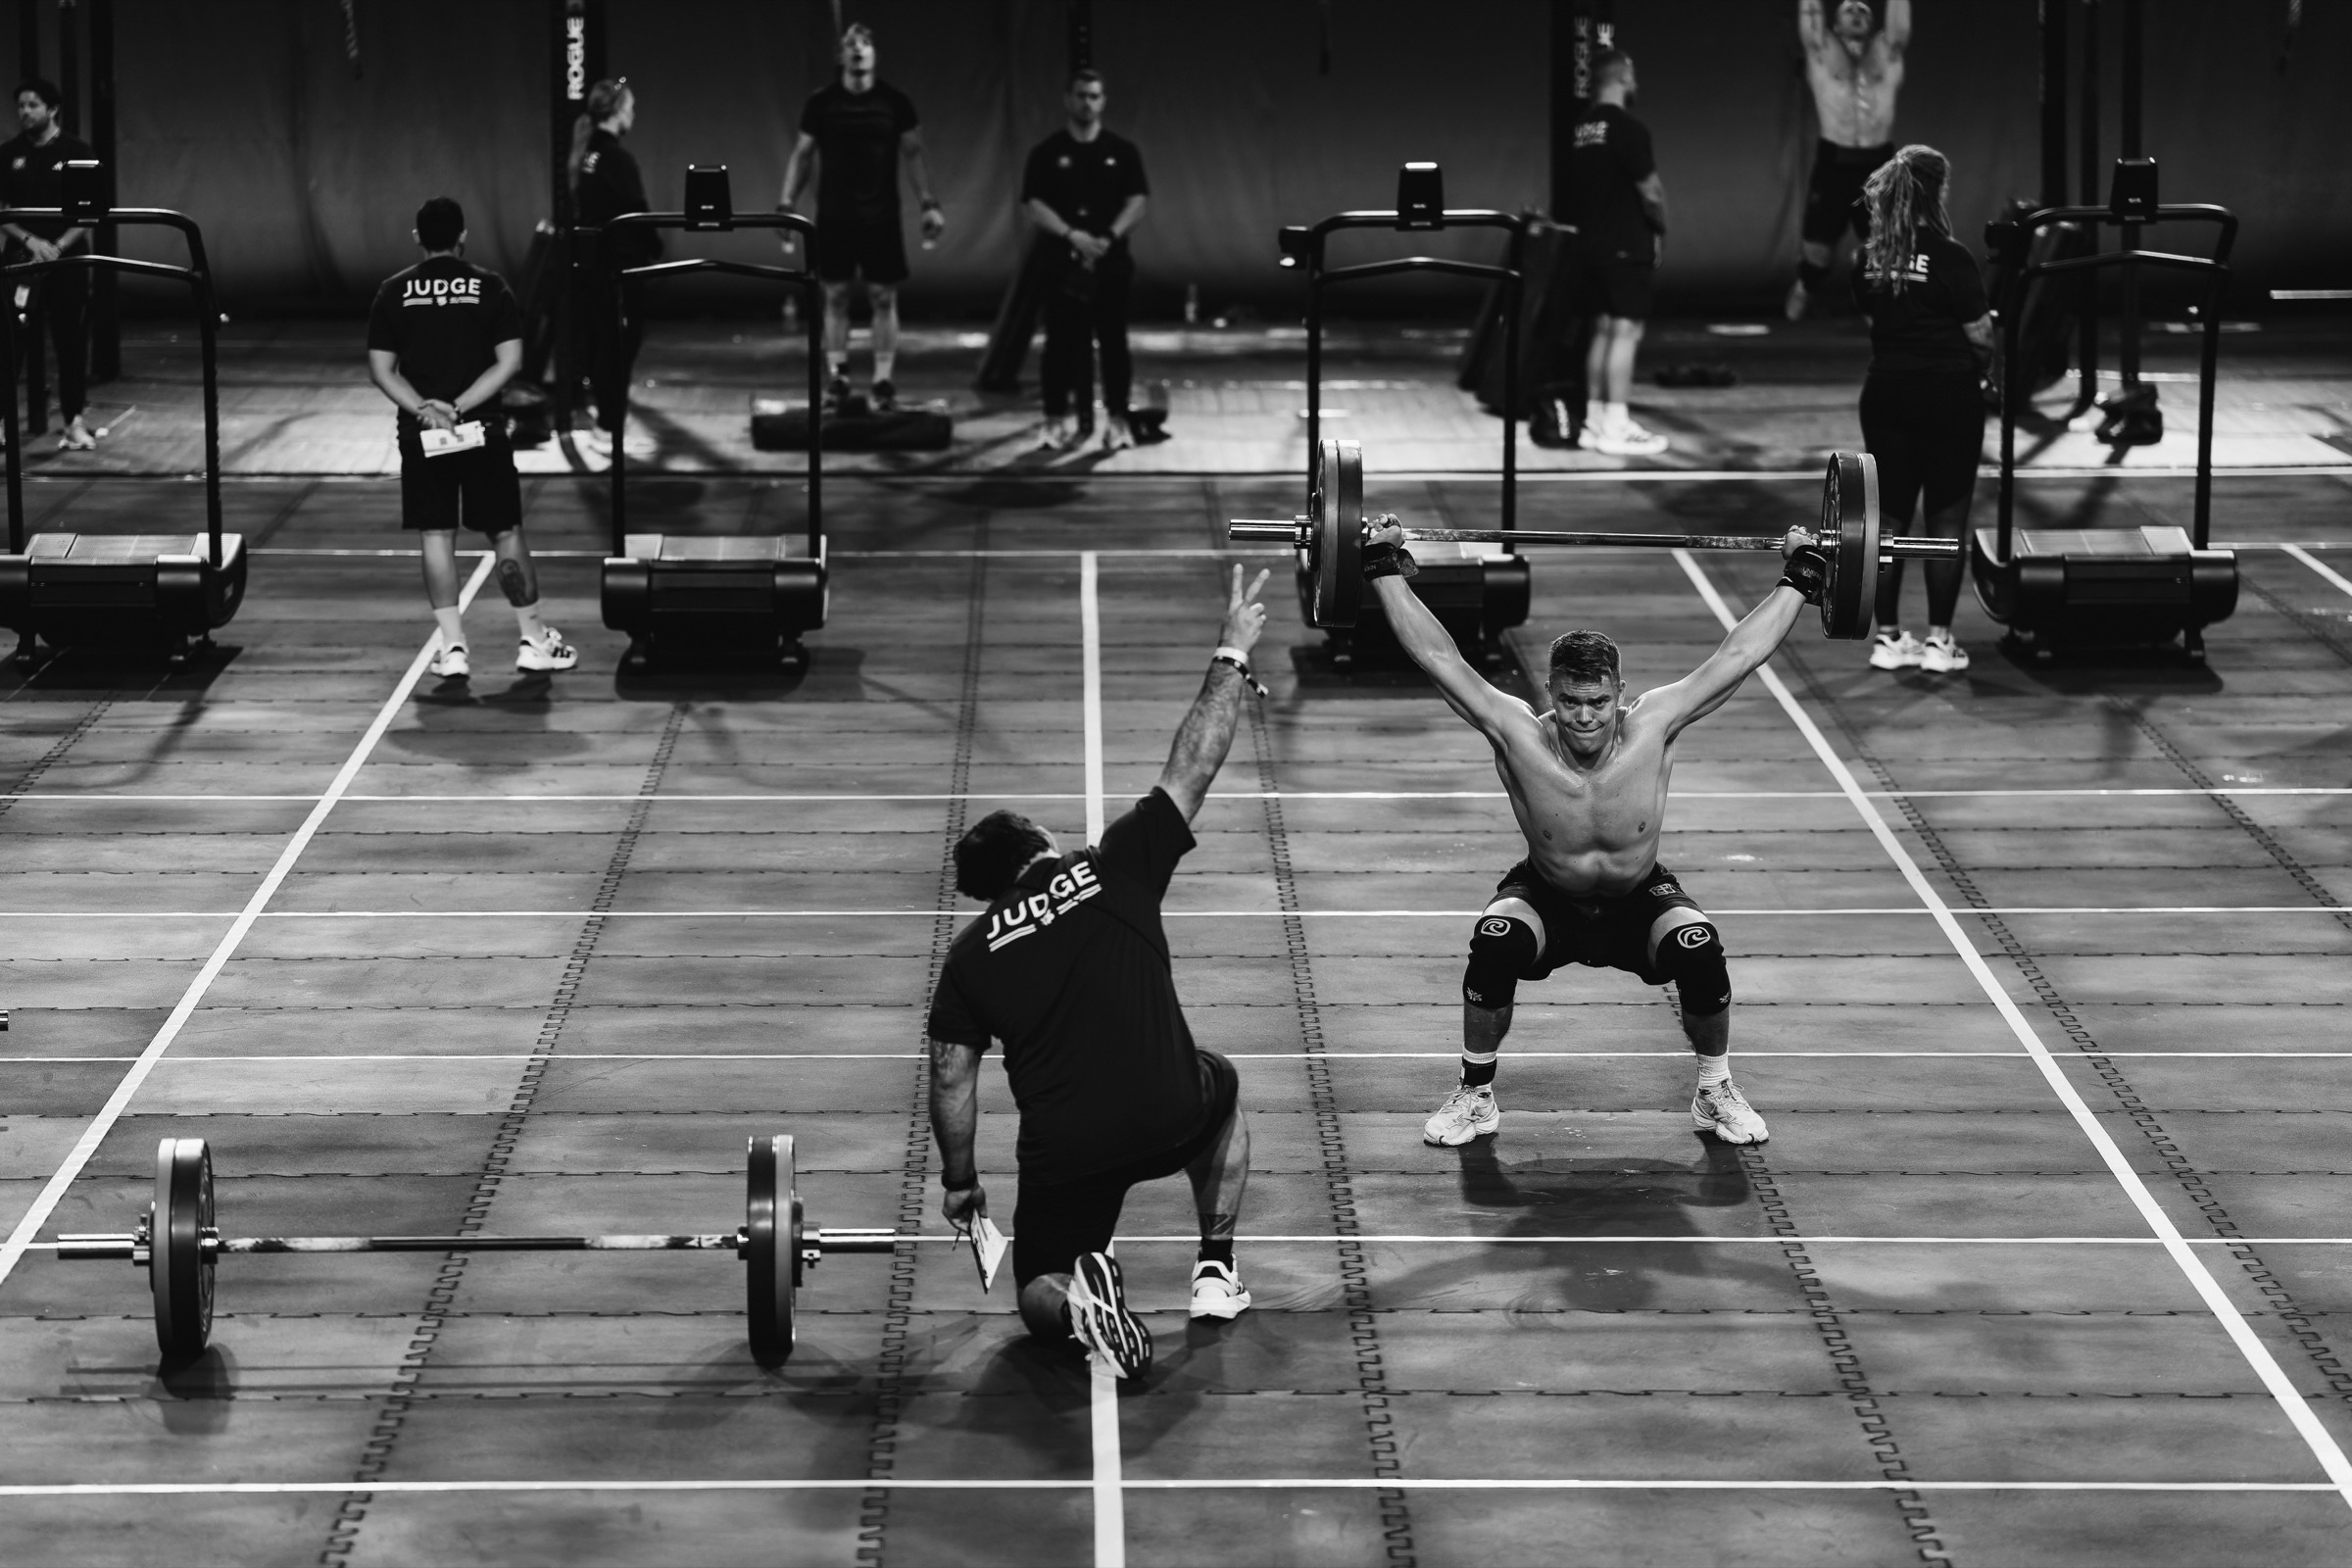
In the previous Building Block we did a lot of base building. In this block the plan is to use it and put the capacities more together. Being strong, having a big engine and having good gymnastics separately is not the same as being good at CrossFit. In order to get good at CrossFit we need to do a lot of CrossFit. That is what this block is about.
At the same time we do not want to stop the progress we made, especially on our running and Echo Bike after the VO2 Shock Week that ended Block 3. This is the reason that you on many days will see double conditioning: we end the strength session with a CF Specific piece, and then in the afternoon we do a monostructural piece. Since we are introducing more CrossFit workouts, the total amount of minutes will be higher than in the previous block. In order to handle this it is important that you follow the intended RPE of each workout. The workouts are designed to work together, but only if you do them at the intensity they are written for.
This block runs in A and B weeks, the same structure you know from the Building Block. Almost every progression runs every other week: you do the A progressions in week 1, the B progressions in week 2, and then the A progressions come back in week 3, a little heavier.
The reason for this is that it gives every progression more time between exposures. In a block where we lift heavy and do a lot of CrossFit at the same time, recovery is what limits us. With a week in between we can push each progression harder when it comes back, instead of stacking a little fatigue on top of a little fatigue every single week.
Back Squat and Bench Press start at 5 sets of 3 building from 80% and end the block at 7 singles at 88%. Power Snatch Waves, Squat Clean & Jerk work at 80%, and Deadlift sets where the last set is a max rep set.
Back Squat and Bench Press at 75-80-83-85% where the last set is a max rep set. Squat Clean Waves, Hang Power Snatch paired with weighted jumps for speed, and Split Jerk from blocks building toward a 1 RM.
If you look at the tests you see the reason for the two styles. We are not only testing 1 RMs this time, we are also testing max reps at 75%. To be good at both you need to train both.
You will also see labels like “Progression 2/3” or “5/6” in the program. This tells you which step of the progression you are on. Some of them, like the Split Jerk, started already in the previous block and finish here with a new 1 RM attempt in the last week.
And as always we pull the volume down in the final stretch before the Test Week, to make sure you go into the tests fresh, recovered and ready to perform at your best.
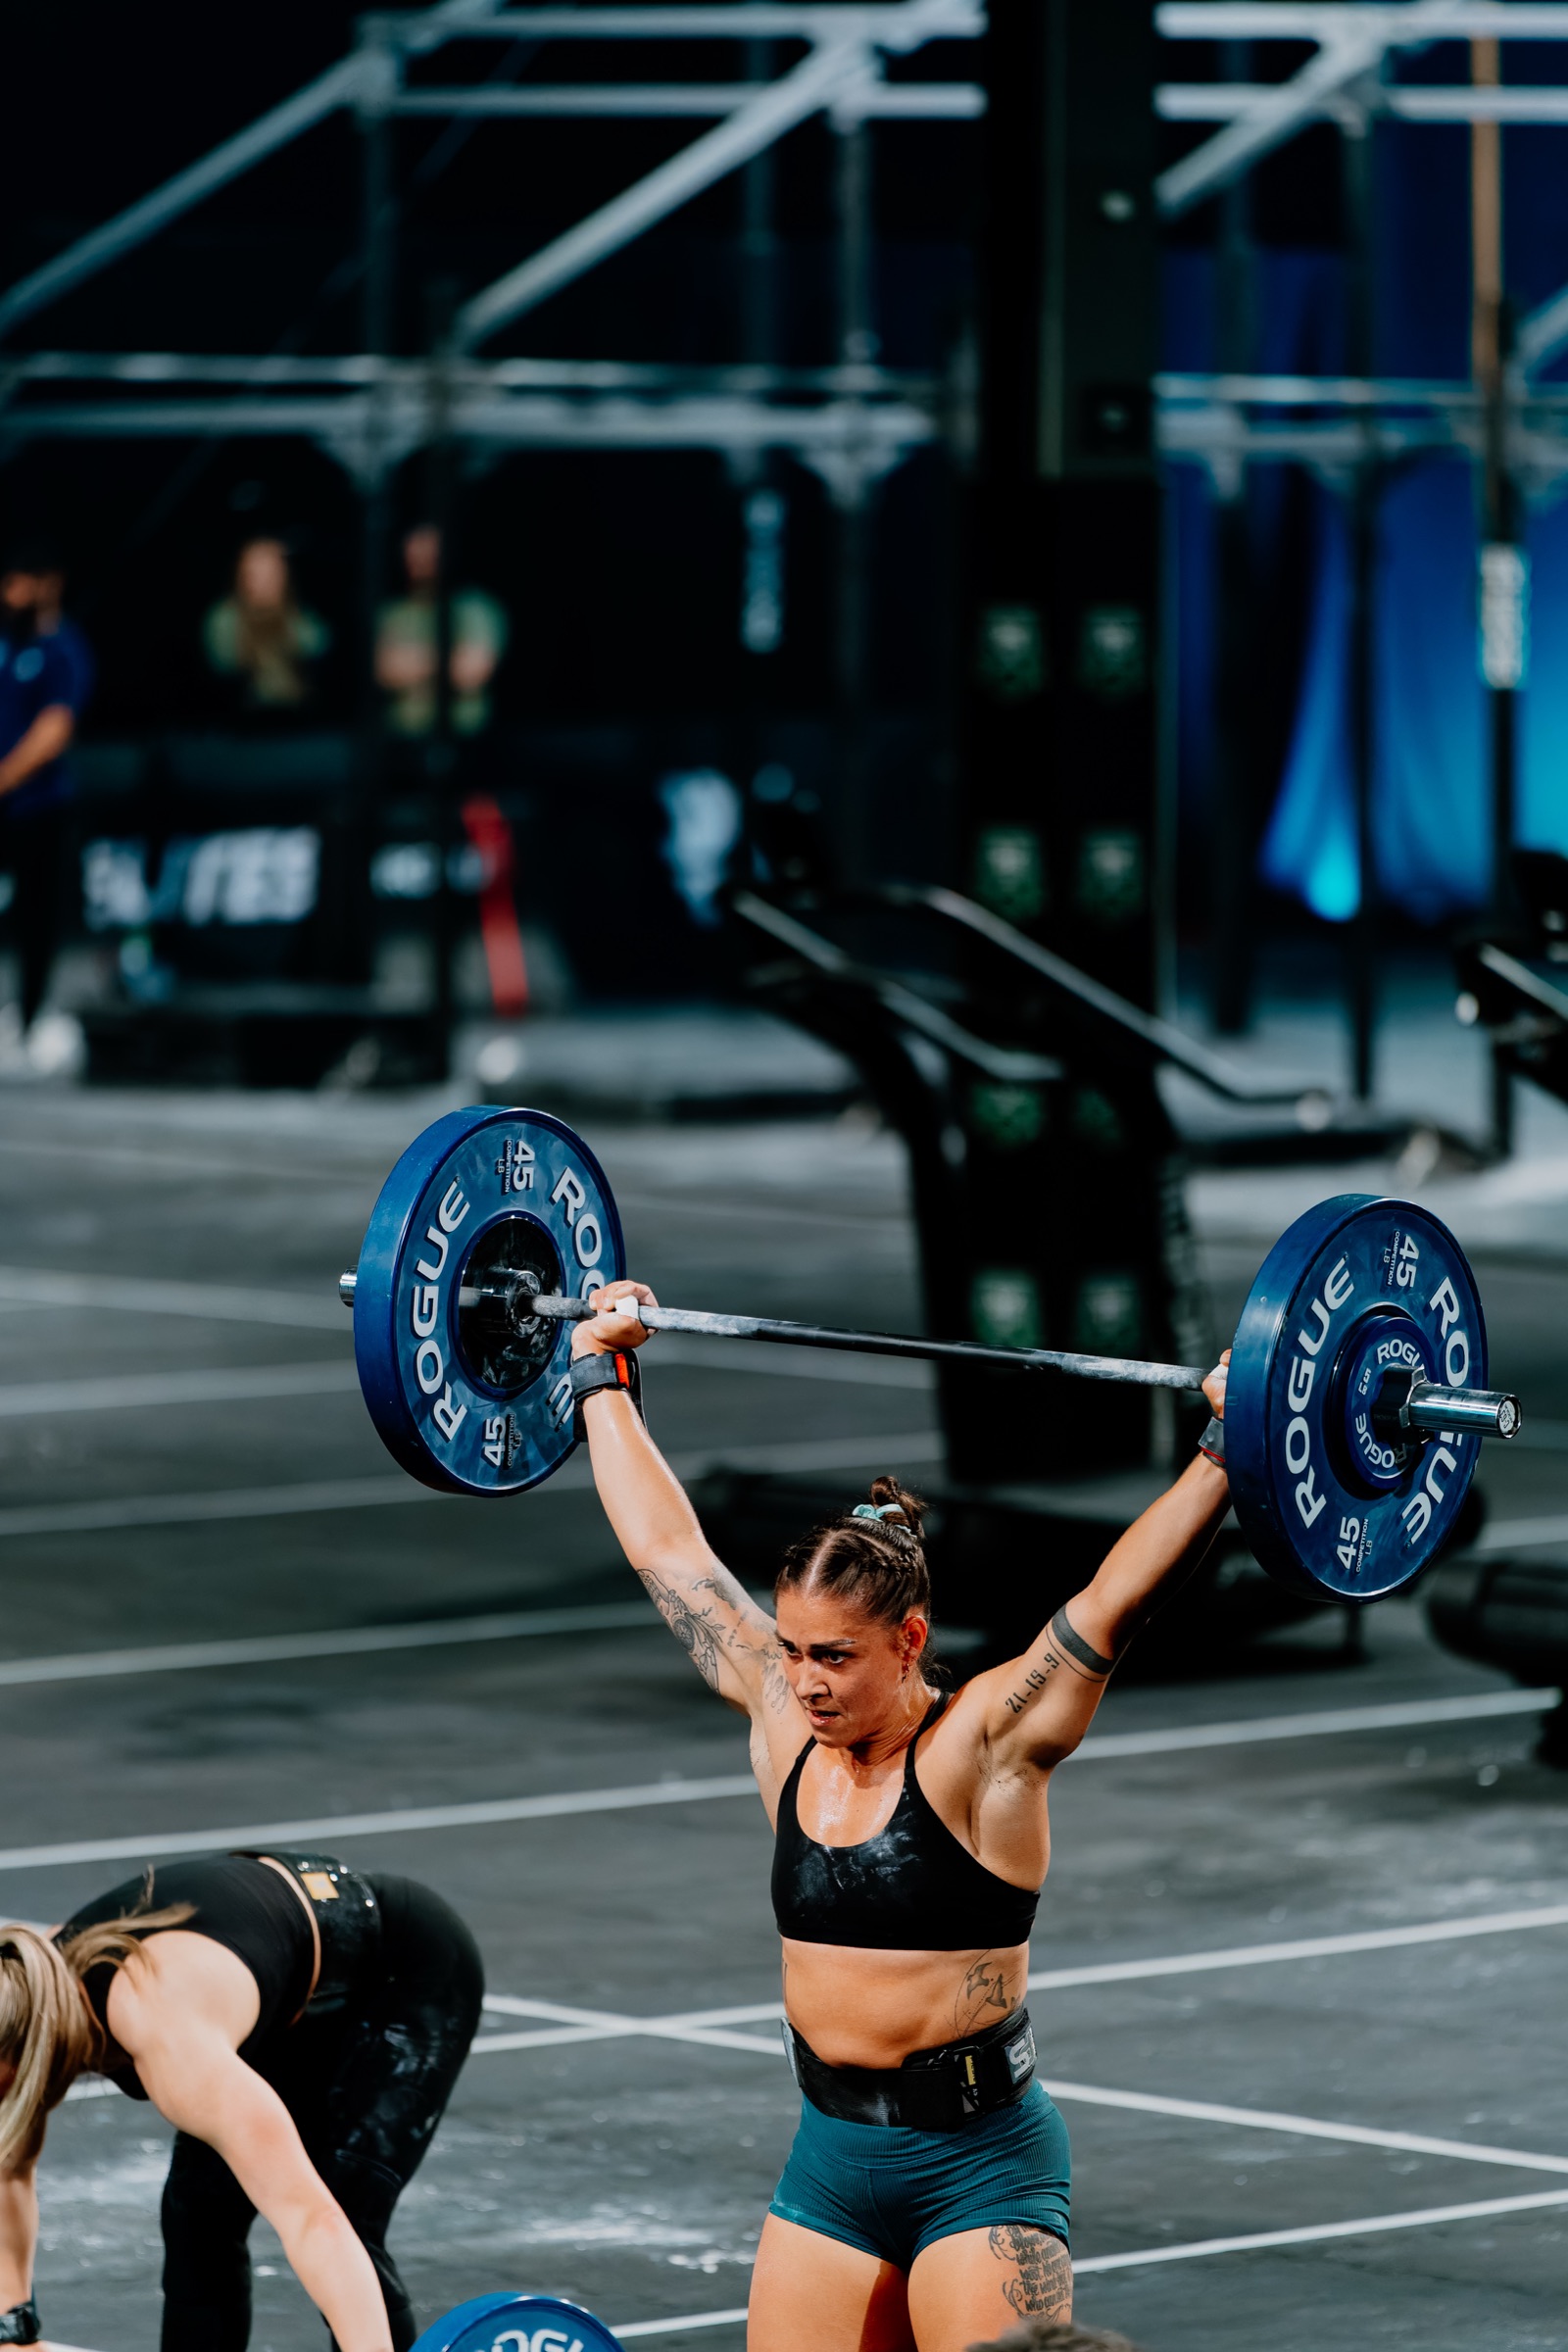
Below you see how the two week types look, taken from the first two weeks of the block. The days keep their roles through the whole block — what changes is the step of each progression.
These are the progressions to keep an eye on through the block, and the test each one points at.
After the block we go into Test Week 2, October 5 – 11. This is where we see if the training from Block 3 and Block 4 has actually worked. Every test is directly connected to something we have been working on during the block.
Every test feeds into your Athlete Profile. After the Test Week you fill in your results and get your individual profile for this block, and with Test Week 1 already done, the picture of you as an athlete now starts to fill in for real. When all four Test Weeks are done we put everything together into your complete profile.
The reason we test like this is that it takes the guessing out of your training. The profile shows you what only needs maintenance and where your biggest improvements are waiting. More often than not we find limiters that the athlete did not know about, and targeting those is where progress comes fast: an Add On program, a different track, or specific adjustments that we help you with.
Our training year is built in pairs of blocks. The first block in every pair is a Building Block, where we raise the ceiling on individual capacities: strength, engine and skills. The second is a CF Specific Block, like this one, where we put everything together and make sure it shows up in workouts. Every pair ends with a Test Week that shows us if the training has actually worked, and fills in the next part of your Athlete Profile.
The reason we train like this is that maintaining a capacity requires very little, but improving one requires focus, quality and volume. By rotating the focus block by block we can go all in on fewer things at a time, and everything gets better faster.
If you are new to Kriger Training: welcome, you can jump in at any point of the year. The full story behind how we structure the training year, and why we changed to shorter blocks, is in our Block 1 guide. It is worth the read.
All tracks follow the A/B week structure, but you can still target your training toward more strength or more endurance. The Main Track is the program as written. For the Strength Track and the Engine Track we make some specific changes this block, and you find them below.
The full CF Specific experience with the most gymnastics. Be ready to adjust down volume on your strongest areas for more recovery.
In this block we do much of the same work, but we make some small changes to a lot of the sessions. We limit some movements in the metcons, for example less squats and jumps on heavy lower body days, to make sure the quality stays high on the lifts. We also incorporate more frequent rest periods during various training pieces to make sure we do not accumulate too much fatigue that will hamper our strength development. And we add more accessories to support our strength progressions.
The focus is as always to build a better engine: slightly higher frequency of conditioning, and in some metcons lighter weights to make sure you can keep moving. New for this block is that we add short intervals at the start of many metcons.
The goal here is to make sure both pieces stay aerobic and that we get enough minutes at a higher heart rate. The 45/15 intervals set the pace and the energy system for the metcon that follows. You go into part B with your heart rate already up and your pacing dialed in — and the goal is to hold that same steady effort through the workout instead of sprinting and stopping. This is an easy way to make sure that the metcon actually trains your engine, and not just your willingness to suffer.
The Add On programs continue as before: 10–20 min, 3 times a week, done as the first part on Monday, Wednesday and Friday. If one of these movements is holding you back in workouts, this is where to put in the extra work — and if your weakness is a different movement, send us a message and we will help you make a plan.
This block has more training minutes than the previous one because of the double conditioning days. The RPE and RIR in the program is not a suggestion — it is what makes the total work. If in doubt, always hold back more than you feel is needed.
Several progressions in this block end with a max rep set, like the Deadlift touch and go sets. Max rep within control means you stop when the technique starts to break, not when you can not move the bar anymore. The strength progressions only work if you can recover from them.
With more variation it can happen that a certain body part starts to feel a little extra. Adjust before it becomes a problem. A concrete example from this block: with the plyometric work your calves and Achilles already get plenty of load. If you have had problems with your Achilles in the past, switch the Heavy Rope Double Unders in the Power Snatch Battery Workout for a regular rope.
The same principle as always: if the quality of your sessions is going down toward the end of the week, remove some volume. More often than not the answer to feeling stuck is to do less, not more. We are always ready to help with these adjustments.

We really look forward to attacking this block together with you.
The Building Block gave you the capacities. This block puts them together and points everything at the Test Week. The athletes that get the most out of it are the ones that follow the intended intensity: push when the program says push, and hold back when it says hold back.
If you are unsure what your focus points should be during the block, or if you feel like you should adjust something but do not know how, send us a message and we are happy to help.